
2010 ET HID conversion


Thread Starter
|
Junior Member
Joined: Oct 2010
Posts: 4
I've installed an HID conversion kit in my 2010 Elantra touring. This is H11 kit (picked up on Craigslist) and not H11b. Everything installed neatly and I did not remove the electrical connector for the H11b, so I can revert to halogens by replacing the bulbs. This kit was installed using an H11 relay kit.
Biggest challenge was to find a place for the ballast. First I had to remove the Headlamp assemblies, you have to do this to change the bulbs even in the factory configuration. 3 bolts hold the headlamp in, 10mm wrench.
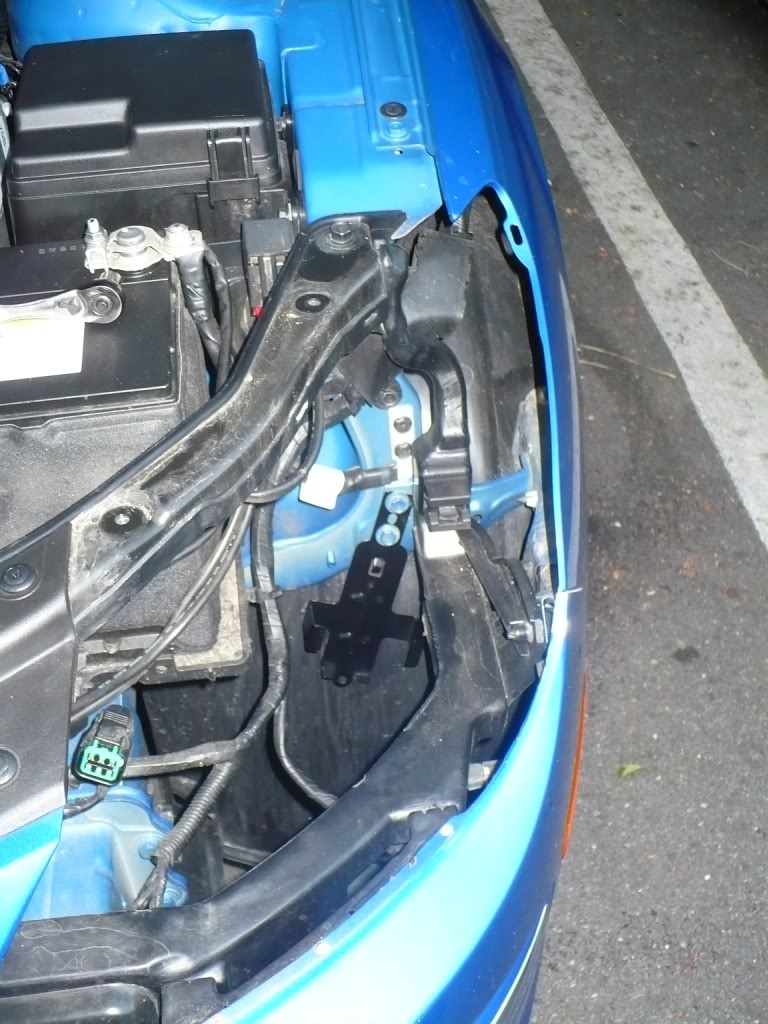
With the headlamps out I was able to mount the drivers side ballast to some existing bolts for the fender brace.


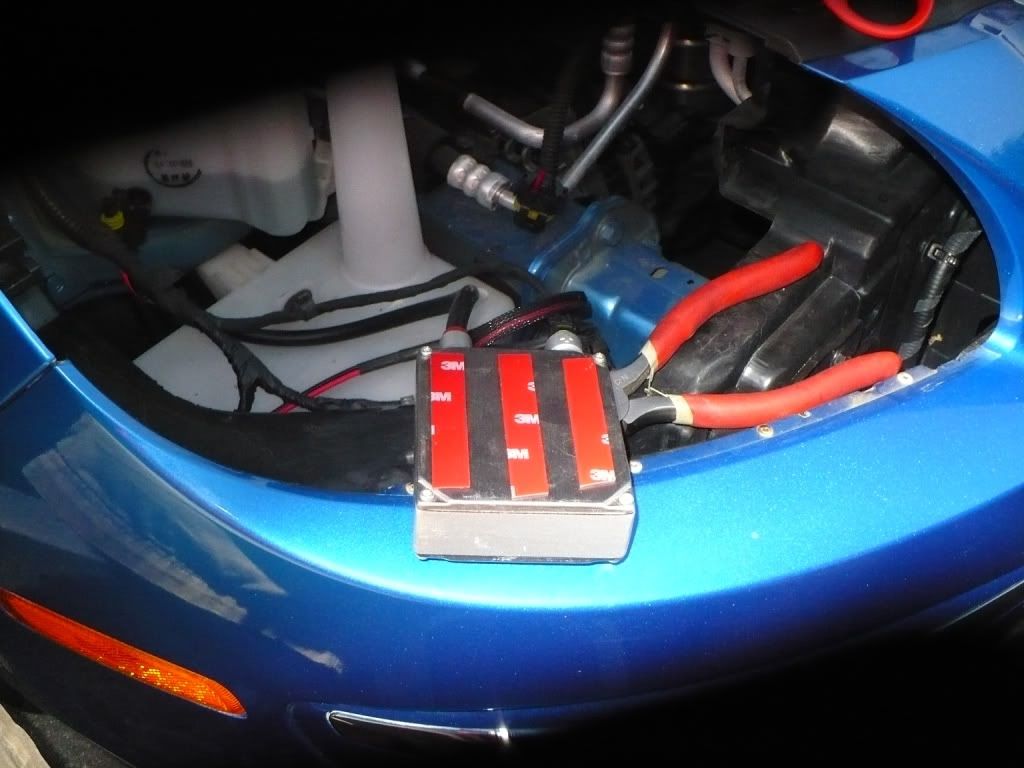
On the passenger side I used 3M mounting tape to mount the ballast on the windshield washer tank.

I drilled the caps with a 1.25" hole saw and installed the supplied grommets

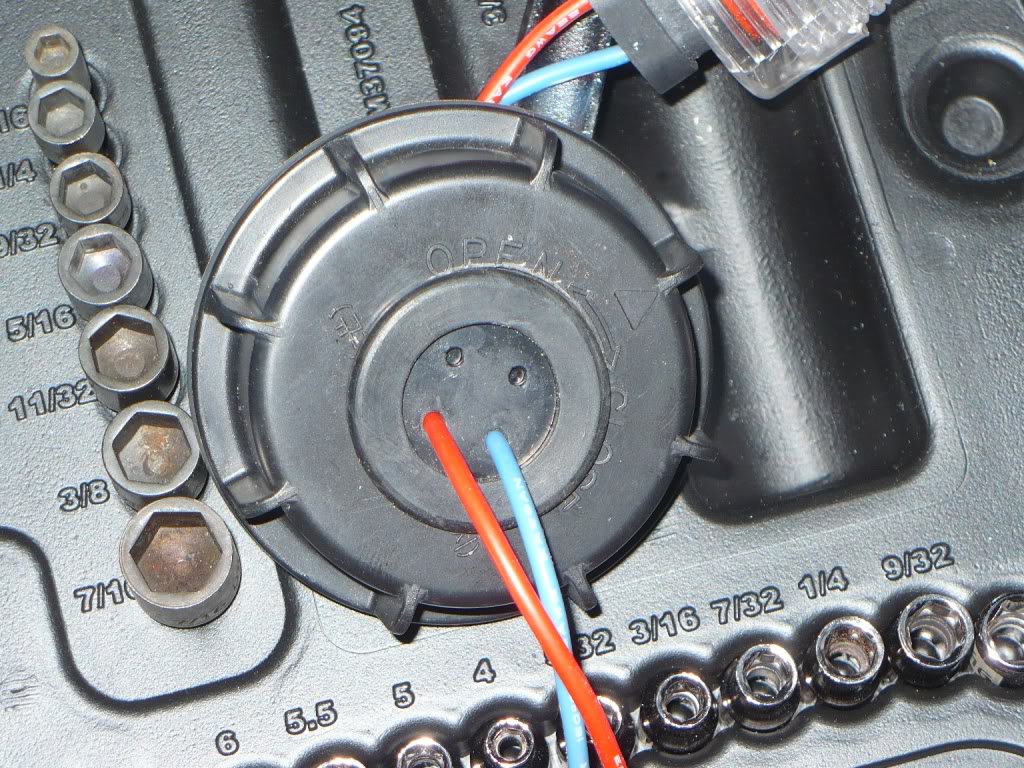
The H11 conversion bulbs twist into place just like any other H11 bulb and there was no interference with the electrical connector for the H11b.
Headlamp ready to reinstall

On the drivers side I, I fed the trigger leads from the relay into the headlamp and plugged the leads into the connector for the H11b.
The relay is mounted to a screw next to the battery. The power lead was snaked up into the existing positive connector. The ballast and lamps all plugged together.

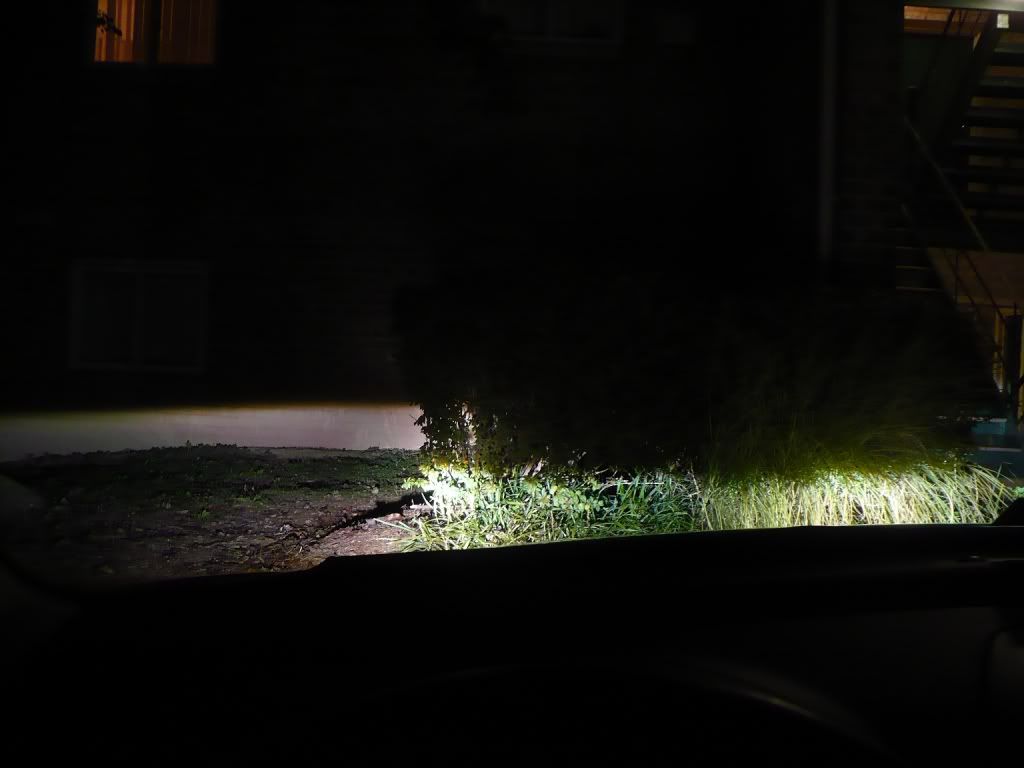
All installed and tested the headlights come up to full brightness in a few seconds. The pattern still has a nice cutoff and does not appear to have shifted. No flashes from oncoming traffic.


All tolled I have about 6 hours into the project, bit I was working slowly and carefully.

Biggest challenge was to find a place for the ballast. First I had to remove the Headlamp assemblies, you have to do this to change the bulbs even in the factory configuration. 3 bolts hold the headlamp in, 10mm wrench.
With the headlamps out I was able to mount the drivers side ballast to some existing bolts for the fender brace.
On the passenger side I used 3M mounting tape to mount the ballast on the windshield washer tank.
I drilled the caps with a 1.25" hole saw and installed the supplied grommets
The H11 conversion bulbs twist into place just like any other H11 bulb and there was no interference with the electrical connector for the H11b.
Headlamp ready to reinstall
On the drivers side I, I fed the trigger leads from the relay into the headlamp and plugged the leads into the connector for the H11b.
The relay is mounted to a screw next to the battery. The power lead was snaked up into the existing positive connector. The ballast and lamps all plugged together.
All installed and tested the headlights come up to full brightness in a few seconds. The pattern still has a nice cutoff and does not appear to have shifted. No flashes from oncoming traffic.
All tolled I have about 6 hours into the project, bit I was working slowly and carefully.
Last edited by dcullen; Oct 10, 2010 at 12:43 PM. Reason: Spelling

Thread Starter
|
Junior Member
Joined: Oct 2010
Posts: 4
Unfortunately it was a local Craigslist buy, plain white box with no brand name.

Thread
Thread Starter
Forum
Replies
Last Post
Deadlyg33k
Hyundai Accent
8
Mar 5, 2015 06:44 AM
Pete`s Genesis
Hyundai Genesis Coupe 2008-Present
0
Jul 24, 2014 11:29 PM
Vanga
Audio/Visual Electronics
1
Aug 5, 2010 09:58 AM